How To Put a Chain on a Mountain Bike?
A mountain bike chain is a crucial component that connects the pedals to the rear wheel and enables you to move forward. Over time, chains wear out and need to be replaced. Replacing a mountain bike chain can seem like a daunting task, but with the right tools and a bit of knowledge, it is a relatively straightforward process.
In this guide, we will take you step by step through removing the old chain and installing a new one on your mountain bike. We will cover the tools you need, the proper technique for removing the old chain, and the steps to install the new chain. This guide will provide the information you need to replace your mountain bike chain confidently.
Contents
Tools Required
Before beginning the chain replacement process, you will need a few tools. These include:
- Chain tool
- Pliers
- Cassette lockring tool
- Lube
- Rag
Explanation of the purpose of each tool
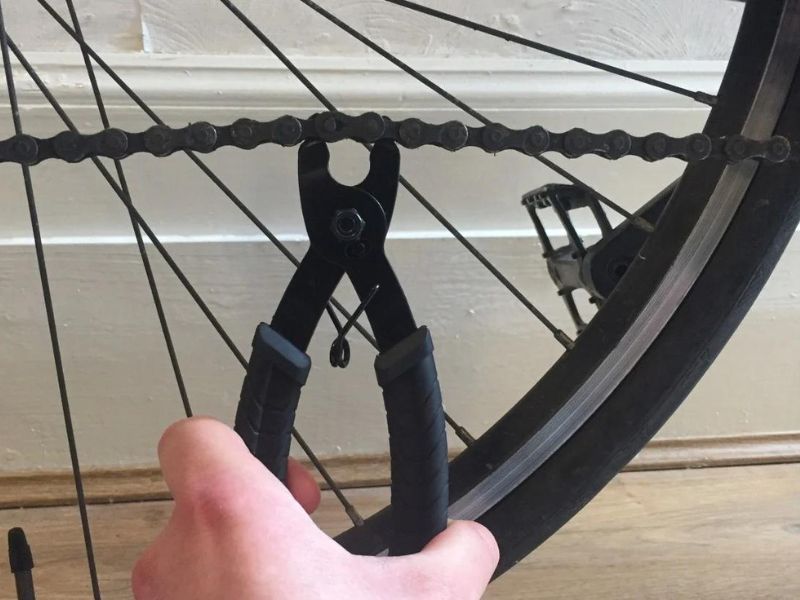
- The chain tool is used to break the old chain and link the new chain.
- The ruler or measuring tape is used to measure the length of the old chain to ensure you get the correct length for the new chain.
- The wrench set or pliers are used to loosen the bolts that secure the chain on the bike.
- The lubricant is used to lubricate the new chain after its installation.
- The rag or cloth is used to clean the chain and the bike’s drivetrain before lubricating.
The chain tool is used to remove and install links in the chain. You can use pliers to help eliminate stubborn links. The cassette lockring tool removes the rear cassette to shorten the chain. You can use lube to lubricate the new chain and a rag to clean any excess grease or dirt from the drivetrain.
Safety Precautions
It is important to take safety precautions when working on your bike. Wear protective gear such as gloves and glasses to protect your hands and eyes. When working on the bike, it is also essential to make sure it is secure and stable, either by using a bike stand or flipping it upside down.
Removing the Old Chain

To remove the old chain, follow these steps:
- Shift the chain onto the smallest chainring and smallest cog.
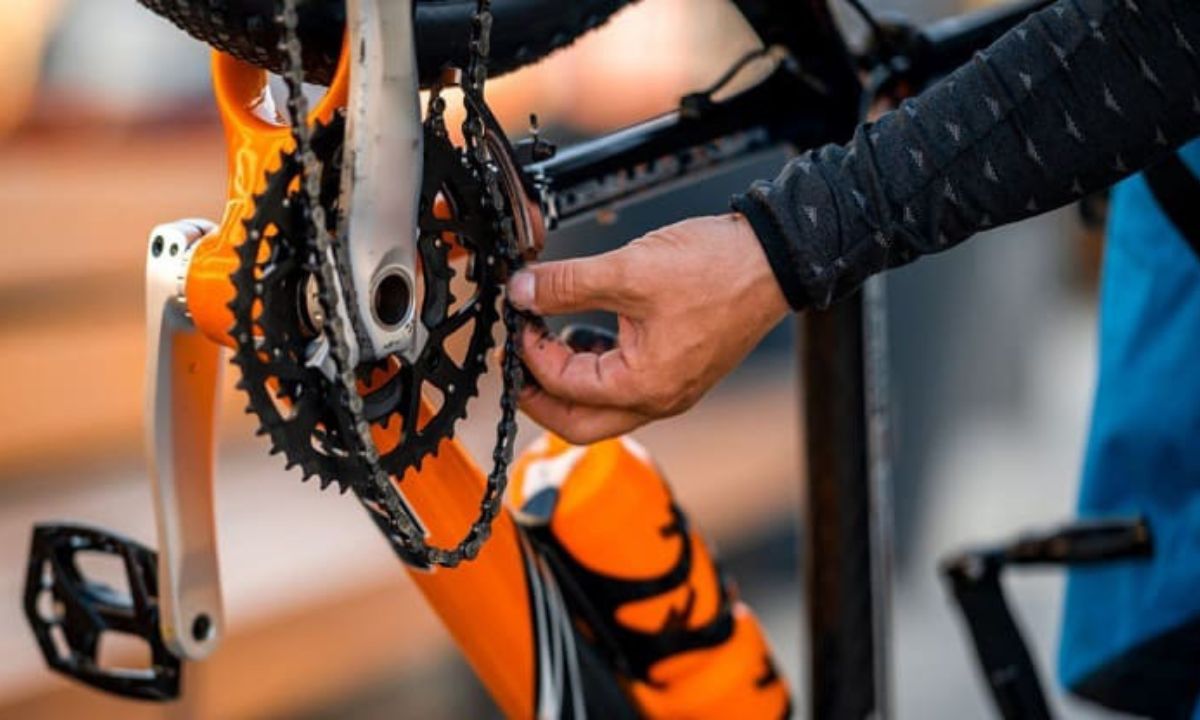
- Use the chain tool to push out one of the pins that connect two chain links.
- Slide the chain apart, separating it into two pieces.
- Repeat this process until the entire chain has been removed from the bike.
Common issues to watch out for when removing the old chain
- Breaking the chain at the wrong link: When breaking the chain, make sure to break it at a link that is easy to access and work with. Breaking it at a tight bend in the chain or near a cog or chainring can make it more difficult to remove the chain.
- Damaging the chain or the bike: When removing the chain, be careful not to damage the chain or the bike. Use a rag or cloth to protect the chain and the bike’s drivetrain from scratches.
- Forgetting to shift the chain: It is important to shift the chain onto the smallest chainring and cog before removing it. This will make the chain easier to remove and prevent damage to the bike.
It is important to be gentle when removing the chain to avoid damaging other bike parts. If a link is difficult to remove, try using pliers to help.
Installing the New Chain
To install the new chain, follow these steps:
- Determine the correct length of the new chain by running it around the largest chainring and largest cog in the rear cassette, then adding two extra links.
- Connect the two ends of the chain using the chain tool to push one of the pins back into place.
- Shift the chain onto the smallest chainring and smallest cog in the rear cassette.
- Use the cassette lockring tool to remove the rear cassette and shorten the chain to the correct length.
- Reinstall the cassette and use the chain tool to secure the links.
- Lubricate the chain with lube to protect it from rust and dirt.
Explanation of the proper technique for installing the new chain

- Measuring the length of the old chain: Before cutting the latest chain to size, measure the length of the old chain. This will ensure that you get the correct length for the new chain.
- Cutting the new chain: Use a chain tool to cut the new chain to the correct length. Make sure to cut the chain straight and cleanly to avoid rough edges that could damage the bike’s drivetrain.
- Threading the chain: Thread one end through the rear derailleur and up to the front derailleur. Make sure that the chain is threaded correctly and not twisted.
- Connecting the two ends of the chain: Use the chain tool to tie the two ends. Make sure to connect the chain correctly and securely.
- Tightening the bolt: Use a wrench or pliers to tighten the bolt that secures the chain to the bike. Ensure the bolt is tight enough to prevent the chain from coming off but not so tight that it damages the chain.
It is important to ensure the chain is tensioned correctly to avoid skipping and reduce wear on other drivetrain parts.
Checking Chain Tension
To check the chain tension, follow these steps:
- Shift the chain onto the largest chainring and cog in the rear cassette.
- Lift the chain off the top of the largest cog and let it hang down.
- If there is more than an inch of slack in the chain, use the chain tool to remove links until the chain is tensioned correctly.
Read More: How To Tighten The Chain On A Mountain Bike?
conclusion
Replacing the chain on a mountain bike is a simple process that can be completed with a few essential tools. By following the steps outlined in this blog post, you can ensure that your mountain bike has a properly functioning chain, which will improve its performance and extend its lifespan. Regular chain maintenance, including replacement when necessary, is important to keep your bike in good working order. So, get your tools ready, take safety precautions, and confidently tackle the chain replacement process.


