
How To Raise Handlebars on Mountain Bike?
The handlebars on a mountain bike are essential in determining the rider’s comfort, control, and riding position. If you’re looking to improve your riding experience or change your riding position, raising the handlebars is a relatively simple task that can be done with a few essential tools.
In this guide, we’ll go over the steps involved in raising your handlebars, including what materials you’ll need, how to remove your old handlebars, how to install your new handlebars, how to adjust the brake and shift cables, and how to test your new handlebar position. By following these steps, you can raise your handlebars and enjoy a more comfortable, stable, and visible ride on your mountain bike.
Contents
Materials Needed
| Materials | Description |
| Tools | Allen wrenches, Torque wrench (optional), Cable cutters (optional), Grease or lubricant |
| Parts | New handlebars, Stem (if different stem clamp diameter), Top cap, Headset spacers, Stem bolts |
This table provides a clear overview of the tools and parts needed to raise the handlebars on a mountain bike. By having all the necessary materials ready, you can ensure a smooth and efficient process.
Removing the Old Handlebars
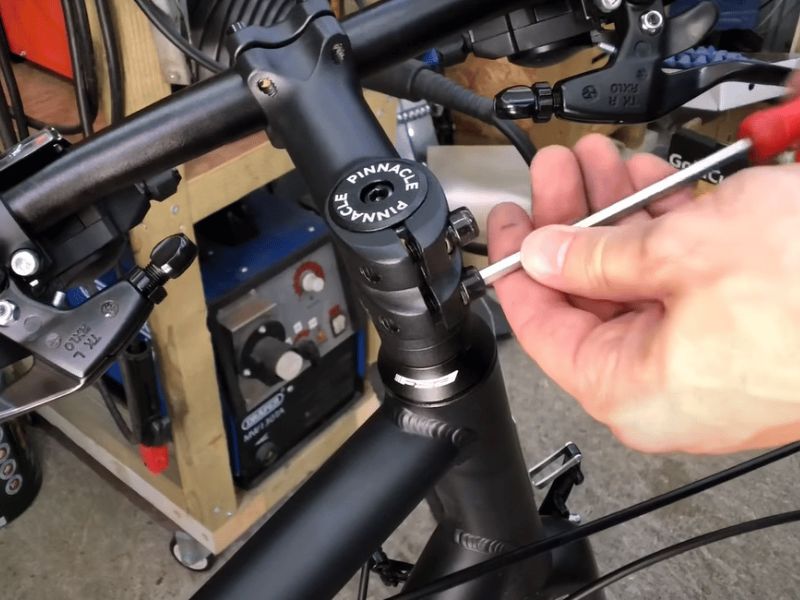
Loosening the Stem Bolts
Before removing your old handlebars, it’s important to loosen the stem bolts that hold the handlebars in place. To do this, use an Allen wrench to loosen the bolts on either side of the stem. Be sure to loosen the bolts evenly so the stem can move freely.
Removing the Old Handlebars
Once the stem bolts have been loosened, you can remove the old handlebars. To do this, hold the handlebars with one hand and use the other hand to lift the stem out of the fork steerer tube gently. Then, slide the handlebars out of the stem and lay them aside. Now that your old handlebars have been removed, you’re ready to install your new handlebars.
Installing the New Handlebars
Measuring the Correct Height
To ensure a comfortable and safe riding experience, measuring the correct height for your new handlebars is essential. Start by sitting on your bike and finding a comfortable riding position. Then, measure the distance from the ground to the top of your current handlebars. You can use this measurement as a reference for the height of your new handlebars.
Attaching the New Handlebars
Next, attach your new handlebars to the stem. Make sure the stem is lined up with the steerer tube of your fork, and insert the stem into the steerer tube. Once the stem is in place, slide your new handlebars into the stem and make sure they’re securely fastened.
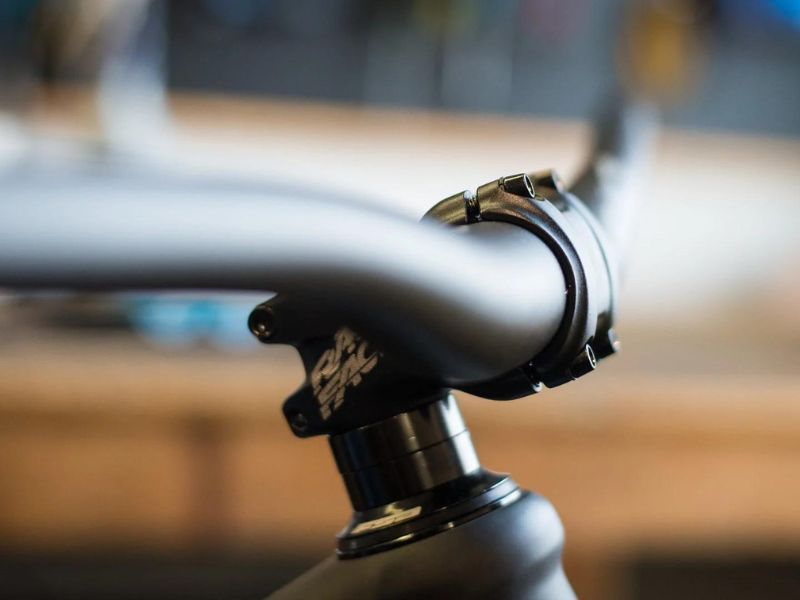
Tightening the Stem Bolts
Finally, it’s time to tighten the stem bolts. Make sure the handlebars are level and in the correct position, then use an Allen wrench to tighten the bolts evenly. Use a torque wrench if you have one, to ensure the bolts are tightened to the manufacturer’s
specifications. This will help ensure that your handlebars are safe and secure while you ride.
It’s important to follow these steps carefully to ensure a successful installation and to ensure the safety of the rider.
Adjusting the Brake and Shift Cables

Removing Cable Tension
Before raising your handlebars, it’s important to remove the cable tension from the brake and shift cables. To do this, use pliers to loosen the pinch bolts that hold the cables in place on the brake calipers or derailleurs.
Repositioning the Cables
Once the cable tension has been removed, you can reposition the cables so they match the new height of the handlebars. Make sure the cables are not kinked or twisted, and that they have enough slack to move freely.
Re-tensioning the Cables
Finally, re-tension the cables by tightening the pinch bolts. To do this, use pliers to tighten the pinch bolts securely, making sure the cables are in the correct position. It’s important to test the brakes and shift gears to ensure that everything is working correctly.
By following these steps, you’ll be able to raise your handlebars and adjust your brake and shift cables to match the new height. This will give you a comfortable and safe riding experience on your mountain bike.
Testing the New Handlebar Position
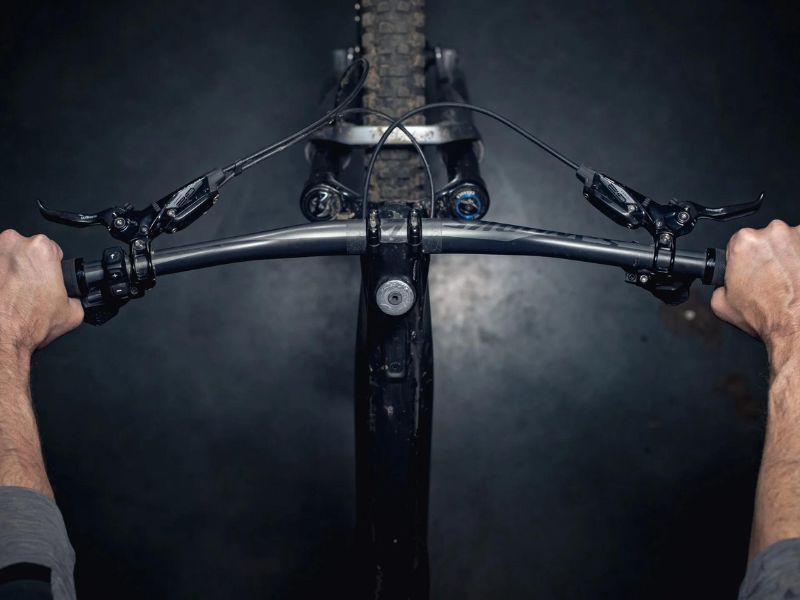
Taking a Test Ride
Once you have raised your handlebars and adjusted the brake and shift cables, it’s time to take a test ride. This will give you the opportunity to test the new handlebar position and make any necessary adjustments.
Adjusting the Position if Necessary
If you find that the handlebars are not at the correct height, you can make adjustments by loosening the stem bolts, adjusting the height, and tightening the bolts again. Repeat this process until you find the perfect position.
By testing the new handlebar position and making any necessary adjustments, you can ensure that your handlebars are at the right height for a comfortable and safe riding experience.
Read Also: How To Tighten The Chain On A Mountain Bike?
Conclusion
In conclusion, raising the handlebars on your mountain bike can greatly improve your riding comfort and control. By following the steps outlined in this guide, including preparing the necessary materials and tools, removing the old handlebars, installing the new handlebars, adjusting the brake and shift cables, and testing the new handlebar position, you can successfully raise the handlebars on your mountain bike. Remember to take your time and be patient, and don’t hesitate to seek help from a professional if you need it. With a few simple steps, you can have your mountain bike handlebars at the perfect height for a comfortable and enjoyable ride.